Found some photos from the TWaT game earlier in the year - most were unusable but I thought I would post what I could salvage! I took charge of the Germans in the first game and Rob (GM) in the second. Andy controlled the British in both games.
Location: somewhere in France during 1944.
A battle weary and depleted platoon of Germans under Gefreiter Hugo Lutz spot a possible place to hunker down for the night - an old farmhouse sitting in the middle of a mess of bocage. Unbeknownst to the small unit of Germans, a 'lost' unit of British soldiers has had the same idea...
Game #1.
Objective: capture and secure the farmhouse.
2 sections per side with one HMG in support.
Germans
1st Section
Gefreiter Hugo Lutz (Leader 3 w/SMG MP40)
Riflemen x 4
LMG Team x 3
2nd Section
Gefreiter Tobias Horst (Leader 2 w/SMG MP40)
Riflemen x 4
LMG Team x 3
HMG Team
Oberschütze Nils Dieter (spotter)
Gunner & Loader
British
1st Section
Corporal Robert 'Smithy' Smith (Leader 2 w/Sten, kneeling)
Riflemen x 6
Bren Team x 3
2nd Section
Corporal Stanley 'Stan' Henderson (Leader 2)
Riflemen x 5
Bren Team x 3
HMG Team
Gunner & Loader
 |
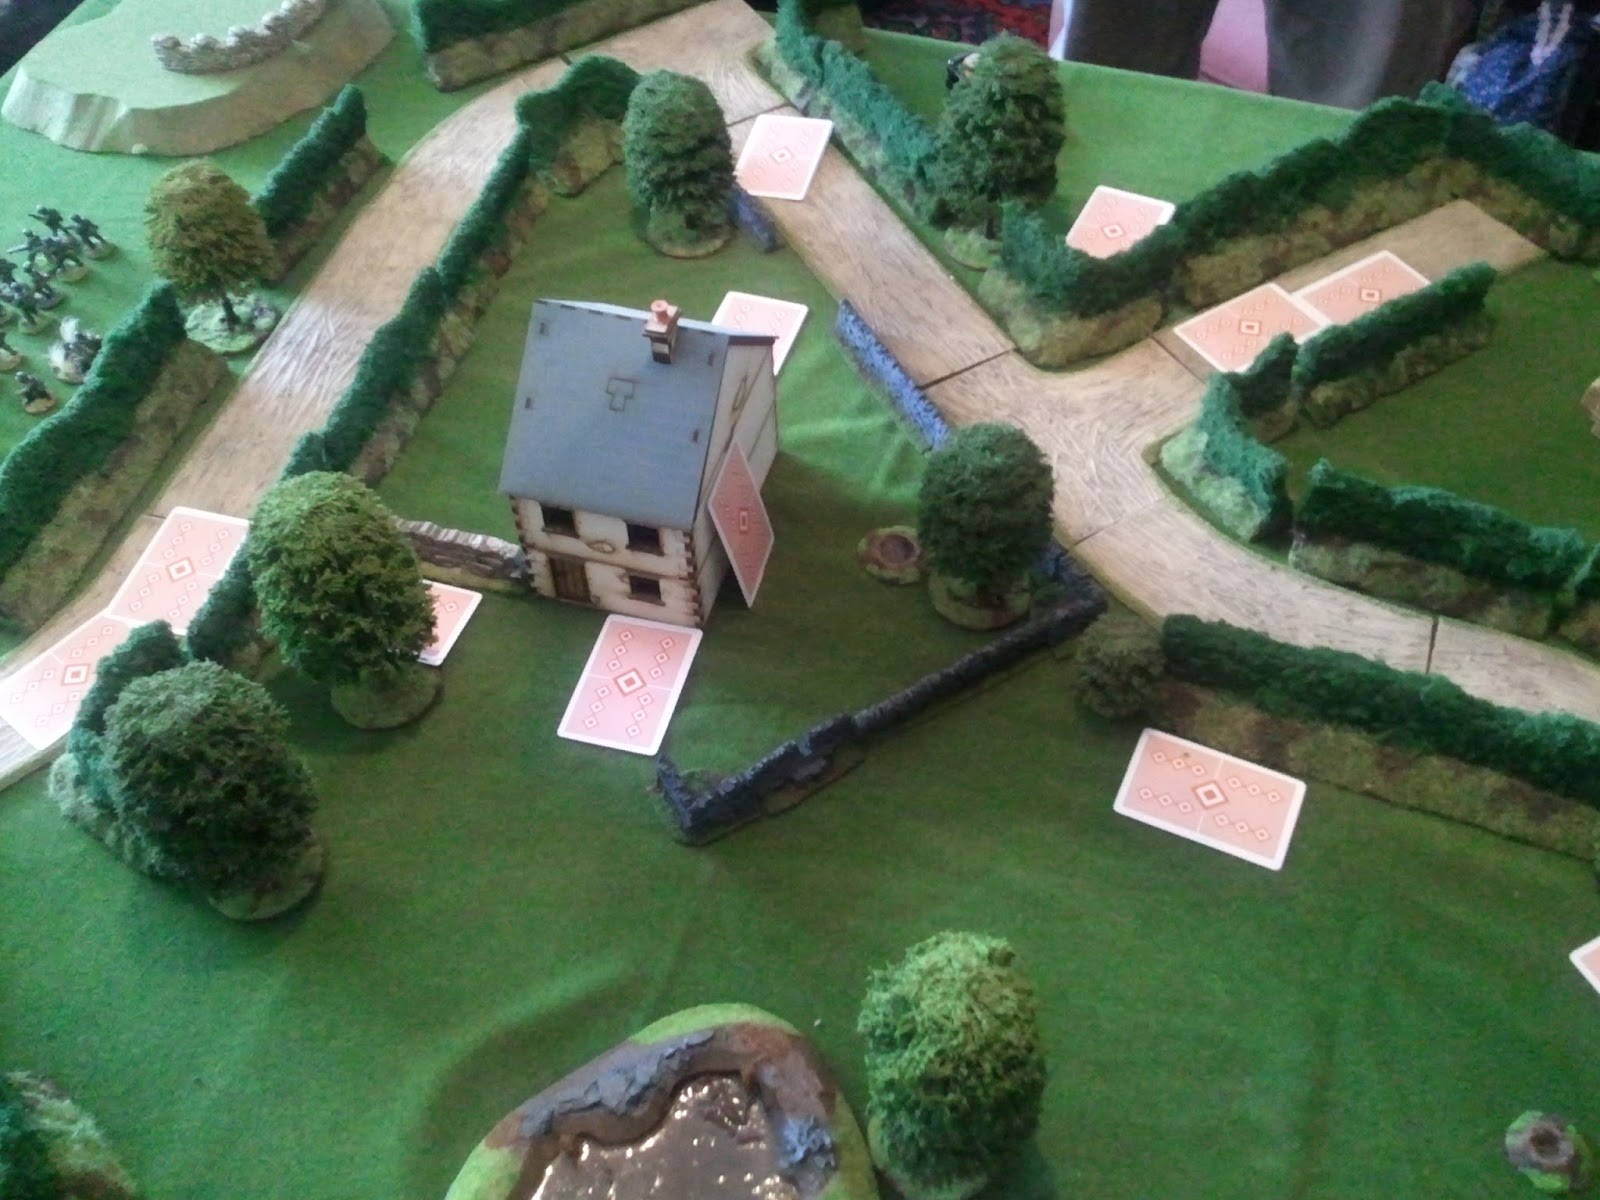
| The Farmhouse. |
 |
| German Platoon. |
 |
| British Platoon. |
 |
| Blinds. |
 |
| Brutal hand to hand fighting in close confines! |
 |
| The British 1st section hold the farmhouse! |
 |
| The 2nd section is forced back leaving Gefreiter Horst dead. |
 |
| Leaderless, the German section panics! |
 |
| German 1st section assault. |
 |
| This never happened... |
 |
| German 1st section forced back. |
 |
| British 2nd section and HMG. |
 |
| Things look bleak for the Jerries... |
 |
| The lads cheer! |
The British completely butchered the Germans in this game. Everything ultimately revolved on the first combat of the game, a bloody hand to hand fight in the confines of the farmhouse. The British won this fight hands down sending the German 2nd section fleeing, who were subsequently caught in the open and mowed down where they stood, killing several including the Section Leader, Gefreiter Horst. The German 1st section could do nothing to force the British from their stronghold and retreated.
For the second game we added a 'Big Man' and another section to each side. Andy kept control of the British who had now established a defensive point at the farmhouse. Rob took control of the Germans this time and their objective was to force the British from here.
The injured Gefreiter Lutz reports back to Hauptmann Waechter at HQ. After looking a various maps, the farmhouse is recognised as a potential strong point, covering an important part of the road network. The Hauptmann decides to accompany three sections to force the British out and take hold of the objective.
Meanwhile, Lieutenant Hugh Martin arrives with the rest of his section to bolster the defence of the farmhouse...
Game #2.
Objective: British to hold captured farmhouse - Germans to assault.
1 'Big Man' and 3 sections per side with one HMG in support.
Germans
Hauptmann Lukas Waechter (Big Man 3) with 1st Section.
1st Section
Unterfeldwebel Johann Schirlitz (Leader 2 w/SMG MP40)
Riflemen x 5
LMG Team x 3
2nd Section
Hauptmann Jan Reinhard (Leader 2 w/SMG MP40, wearing cap)
Riflemen x 4
LMG Team x 3
3rd Section
Leutnant Augustus Werfel (Leader 2 w/SMG MP40, kneeling, bandaged head)
Riflemen x 4
LMG Team x 3
HMG Team
Oberschütze Hans Klein (spotter)
Gunner & Loader
British
Lieutenant Hugh Martin (Big Man 3) with 2nd Section.
1st Section
Corporal Robert 'Smithy' Smith (Leader 2 w/Sten, kneeling)
Riflemen x 6
Bren Team x 3
2nd Section
Corporal Stanley 'Stan' Henderson (Leader 2)
Riflemen x 5
Bren Team x 3
3rd Section
Corporal Thomas 'Tommy' Manners (Leader 1)
Riflemen x 4
Bren Team x 3
HMG Team
Gunner & Loader
 |
| Blinds placement. |
 |
| German 2nd & 3rd sections advance... |
 |
| 1st section under Corporal Smith lay in wait. |
 |
| Spotted! |
 |
| The Germans spread out. |
 |
| The Germans begin their assault with Leutnant Werfel... |
 |
| ...but the Brits retreat! |
 |
| Hauptmann Reinhard moves 3rd section forward. |
 |
| Corporal Smith leads a heroic charge into the Germans! |
 |
| Some fierce and bloody hand to hand fighting... |
 |
| ...but Werfels's men win the day. |
 |
| Corporal Smith regroups his men. |
 |
| The brave Corporal prepares for the next attack... |
 |
| ...but more Jerry have arrived under Hauptmann Reinhard... |
 |
| ...with a dreaded MG42! |
 |
| Meanwhile, Lieutenant Martin repositions his men. |
 |
| He orders the Vickers to cover Corporal Smith's retreat. |
 |
| Hauptmann Waechter, with the HMG and 1st section lay in wait behind some bocage opposite the farmhouse... |
 |
| ...and open fire on the men on the first floor! |
 |
| The 3rd section under Corporal Manners, with minor injuries. |
 |
| Oberschütze Klein sprays the farmhouse with bullets! |
Play ended here as we ran out of time - it was a hard one to call at this point.
The British 1st Section under Corporal Smith (mentioned in dispatches) had taken a battering but the rest of the platoon and 'Big Man' Lieutenant Martin was untouched. The Germans had taken minimal casualties to Leutnant Werfel's 3rd Section, who were effective in their hand to hand clash with the Brits. Hauptmann Reinhard had joined Werfel's advance so it was looking bad for Corporal Smith's men if they stuck around. Meanwhile, the German 'Big Man' Hauptmann Waechter, along with the section HMG and a squad had begun peppering the farmhouse with fire. The British we effectively caught on both sides but had a strong defensive position, something the Germans previously had trouble dislodging them from!
As mentioned before, a good game all round but it certainly made more sense in the second game. The rules were a little clearer but more importantly, the addition of a 'Big Man' and another section to each side allowed more tactical options which is ultimately the point of the game.
Good stuff all round but now both Rob and I have picked up the new TFL WWII rules
Chain of Command!
Figures in the photos are Artizan, Black Tree, Bolt Action and Crusader.
The farmhouse is from 4Ground.
Roads by Last Valley.
Bocage scratch-built by
Andy.